
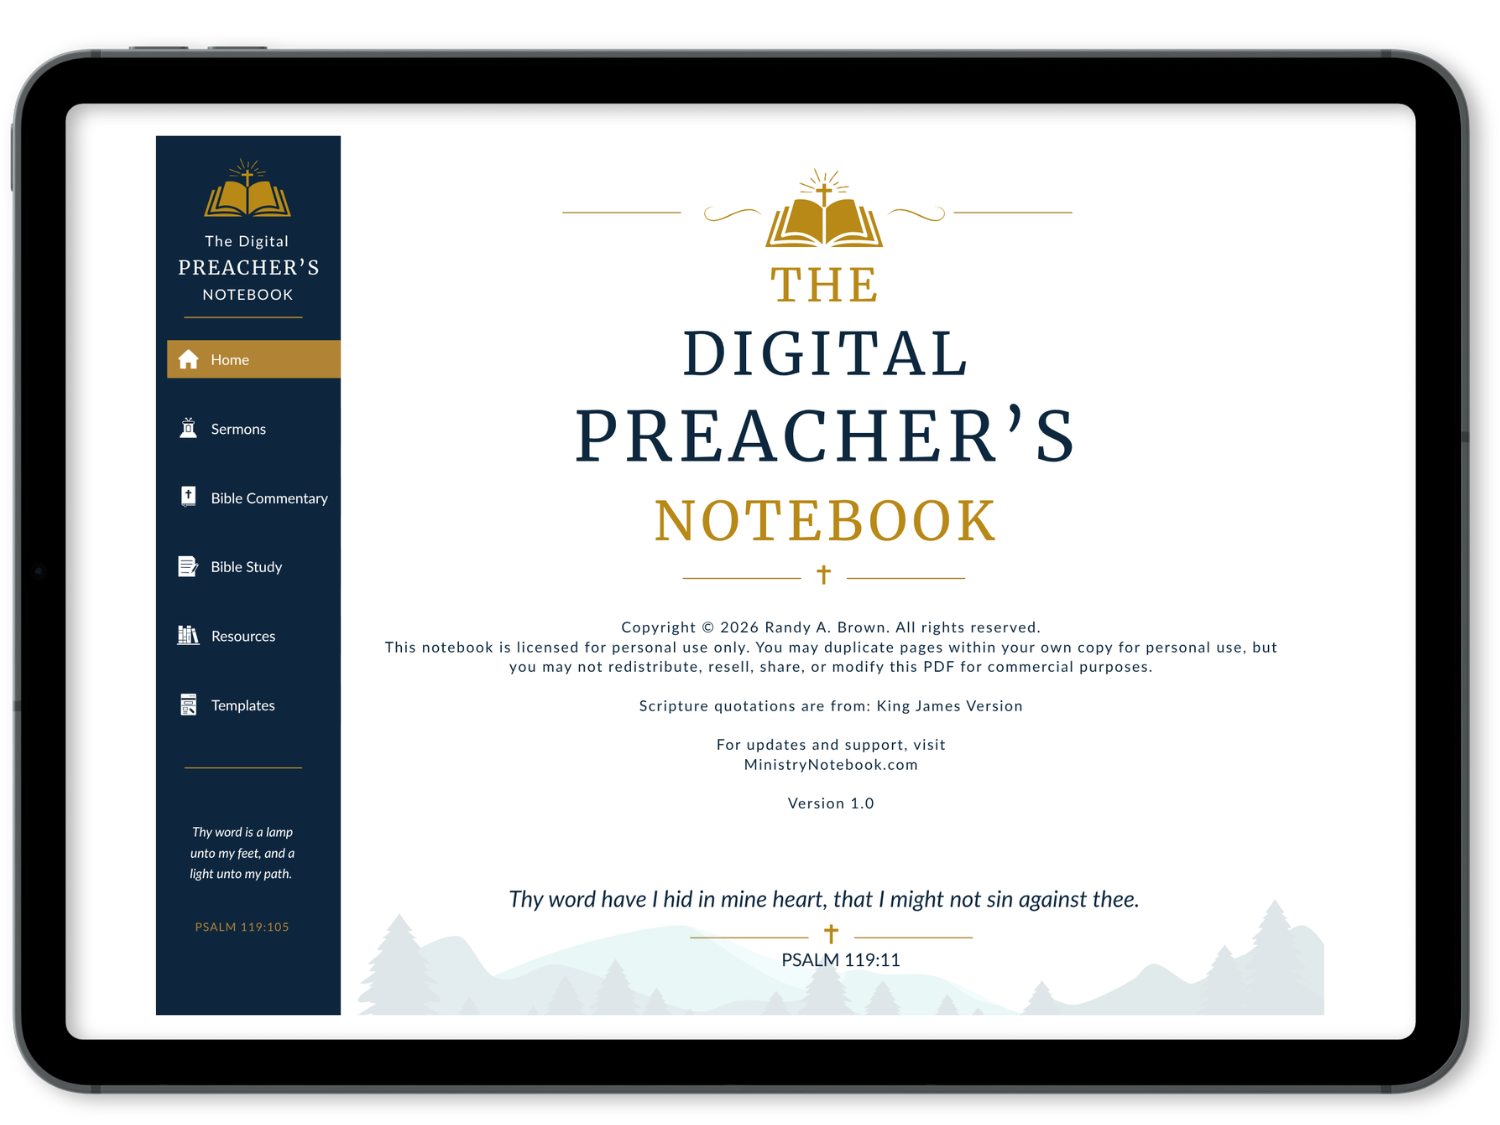
The Digital Preacher’s Notebook is designed to give you one organized workspace for developing, recording, and preserving your messages.
It does not replace your Bible, commentaries, dictionaries, study software, books, or other research resources. Instead, it gives you a place to bring the information you discover through those resources and turn it into organized notes for sermon preparation.
You can use the notebook for both expository and topical preaching, and you can adapt it to your own way of studying and preparing sermons and other messages.
It includes six sections that are accessed through clickable navigation:
- Home
- Sermons
- Bible Commentary
- Bible Study
- Resources
- Templates
Using the Home Page
The Home page is a simplified weekly planner. Use it to get the big picture of your current week.
Copy Template Pages
To get started with any section, use your PDF app’s copy features to copy the page you want to use and place it where you want it. Each PDF app is different, so you’ll need to learn how to use your chosen app before continuing.
Start at the Sermons Section
When you begin preparing a new message, start in the Sermons section.
The Sermons section provides the primary workflow for developing a message:
Plan → Research → Outline → Manuscript → Reflect → Index
You don’t have to use every page for every message. Some sermons may require extensive research and a manuscript, while others only need a simple outline.
Use the pages that fit your preparation process, even if it’s just a lined page from the Templates section. Copy the page you want using your PDF app’s features, and place it wherever it makes the most sense for you to work on your sermon. I like to place my current page after the Sermons homepage. Then, I only need to swipe the page to see my current template.
1. Plan Your Message
Begin with the Sermon Planner.
Record the basic information about the message, such as:
- Title or working title
- Scripture passage
- Main idea
- Purpose
- Audience
- Key points
- Ideas you want to develop
At this stage, don’t worry about having everything figured out. The planner is a place to capture the message’s direction as it begins to take shape.
2. Research the Message
Move to Sermon Research as you begin studying.
Use this page to record information you discover from your Bible, commentaries, dictionaries, books, study software, cross-references, and other resources.
You might record:
- Historical background
- Context
- Important observations
- Cross-references
- Definitions
- Word studies
- Questions
- Quotes
- Supporting information
For a topical message, you might research several passages and organize the information around your subject. For an expository message, you might spend more time examining the context, structure, wording, and meaning of a particular passage. The notebook works with either approach.
3. Develop Your Outline
Once you’ve gathered enough information, move to the Sermon Outline page.
Begin organizing your research into a clear message.
You might include:
- Introduction
- Main points
- Supporting Scriptures
- Explanations
- Illustrations
- Applications
- Conclusion
You don’t have to follow a particular preaching structure. The purpose of the outline is to take the information you’ve gathered and organize it into a message that can be communicated clearly.
4. Write the Manuscript (If You Use One)
Use the Sermon Manuscript pages if you preach from a manuscript or like to write out portions of your message. You can use multiple copies of the template if you need more space. You might not need this section for every message if you normally preach from an outline. The notebook is designed to support different preaching styles rather than require every preacher to prepare the same way.
Along the way, you can bring in copies of any template or page you’ve written to use with your sermon, including dotted or graph pages, Bible commentary, resources, etc. Any template can be placed anywhere.
5. Reflect After You Preach
After delivering the message, return to the Sermon Reflection page.
Record what you learned while preaching.
Consider questions such as:
- What communicated clearly?
- What could have been explained better?
- Which points connected with people?
- What questions came up afterward?
- What would I change next time?
- What did I learn while preparing or preaching?
This page isn’t meant to judge your preaching. It’s a place to capture useful observations while the experience is still fresh in your mind.
6. Index the Finished Message
Once your message is complete, use the Sermon Index to keep track of completed messages and make older sermons easier to locate. Record the information you want to remember about the message, such as its title, passage, date, and where you preached the sermon. Over time, your index becomes a record of the messages you’ve prepared and preached.
7. Use the Bible Study and Commentary Sections
These sections were designed to stand on their own, but you can also use them in your sermons. Your sermon preparation doesn’t have to stay entirely inside the Sermons section.
The Bible Study and Bible Commentary sections give you places to develop deeper study that may support your current message, or become useful for future messages.
For example, you might discover an important observation about a passage that isn’t ready for your current sermon. Instead of losing it in your sermon notes, record it in the appropriate study or commentary section.
This section is also useful for creating your own verse-by-verse or passage-by-passage commentary on the whole Bible. This allows your notebook to become a growing personal study reference over time, and you can add to it for years to come.
8. Use Resources to Build Your Personal Library
The Resources section is for information that doesn’t belong to just one sermon.
Use Resource Notes for things such as:
- Illustrations
- Quotes
- Book notes
- Conference notes
- Ministry ideas
- Historical information
- Useful references
This section can become a personal library of material you can draw from when preparing future messages. Instead of recreating your research every time you prepare a sermon, you can build on what you’ve already collected. Copy the content, or the entire page, and place it within your sermon, or just use it for reference.
9. Use Templates Whenever You Need More Space
You don’t have to limit yourself to the pages within a particular section.
The Templates section gives you flexible pages that you can duplicate whenever you need them. These are the standard notebook pages.
For example, you can use:
- Lined pages for additional notes
- Dot-grid pages for freeform ideas
- Graph pages for diagrams or structured notes
- Checklist pages for tasks
- Blank pages for anything else
You can also use these templates to create your own personal areas within the notebook. Do you want a personal journal? Duplicate the lined pages. Do you need a checklist, such as a to-do list, prayer list, or a reading plan? Duplicate a checklist page. Do you want more space for illustrations or ideas? Duplicate a notes template.
The notebook is designed to be customized to your workflow rather than limiting you to its structure.
10. You Don’t Have to Use Every Page
The Digital Preacher’s Notebook contains many tools because every preacher has a different preparation process. You don’t need to use every page.
One message might use:
Planner → Research → Outline → Reflection → Index
Another might use:
Planner → Bible Study → Commentary → Research → Outline → Manuscript → Reflection → Index
You might not feel the need to use the Index. Use what helps you. The goal isn’t to fill every page. The goal is to have the right information available when you need it.
A Simple Workflow to Get Started
If you’re using the notebook for the first time, don’t try to build a complicated system immediately.
Start with this:
Before you preach
1. Plan
Record the direction of your message.
2. Research
Study the passage and record what you discover.
3. Outline
Organize your research into a clear message.
4. Write
Develop a manuscript if your preaching style calls for one.
After you preach
5. Reflect
Record what you learned.
6. Index
Preserve the finished message for future reference.
As you become comfortable with the notebook, incorporate the Bible Study, Bible Commentary, Resources, and Templates sections wherever they make sense.
Make the Notebook Your Own
There is no single correct way to use the Digital Preacher’s Notebook.
Some preachers will use it primarily for sermon preparation. Others will build extensive study notes and resource libraries alongside their messages.
Some will write everything by hand. Others will type their notes. Some will use only a few pages for each message, while others will duplicate templates and create extensive research files.
That’s intentional.
Ministry Notebook provides the structure. You decide how to use it.
Use your Bible and other study resources to do the research. Use the notebook to capture what you learn, develop your message, preserve your work, and build a resource you can return to for years to come.

0 Comments